Troubleshooting Noisy Motors: Causes and Quick Fixes
Is your motor suddenly loud? Learn key noise causes—worn bearings, misalignment, loose mounts, vibration, electrical hum—and quick fixes to restore quiet.
Understanding Motor Noise
Noisy motors can signal developing faults, yet not every sound indicates failure. Start by categorizing the noise as mechanical, electrical, or aerodynamic. Mechanical noise often presents as grinding, rattling, or rhythmic knocking tied to rotation. Electrical noise leans toward humming, buzzing, or high-pitched harmonics, sometimes changing with load or control settings. Aerodynamic noise usually comes from cooling fans, vents, or obstructions disturbing airflow. Establish a baseline by listening at startup, steady load, and coast-down, noting when the noise intensifies. Brief recordings can help compare changes over time and pinpoint resonance sensitive to speed. Always power down and lock out before touching rotating parts. Use your senses methodically: observe vibration, feel for heat at housings and bearings, and inspect for rubbing marks, loose guards, or debris. A structured approach narrows causes quickly, prevents unnecessary part swaps, and keeps troubleshooting focused on root cause rather than symptoms.
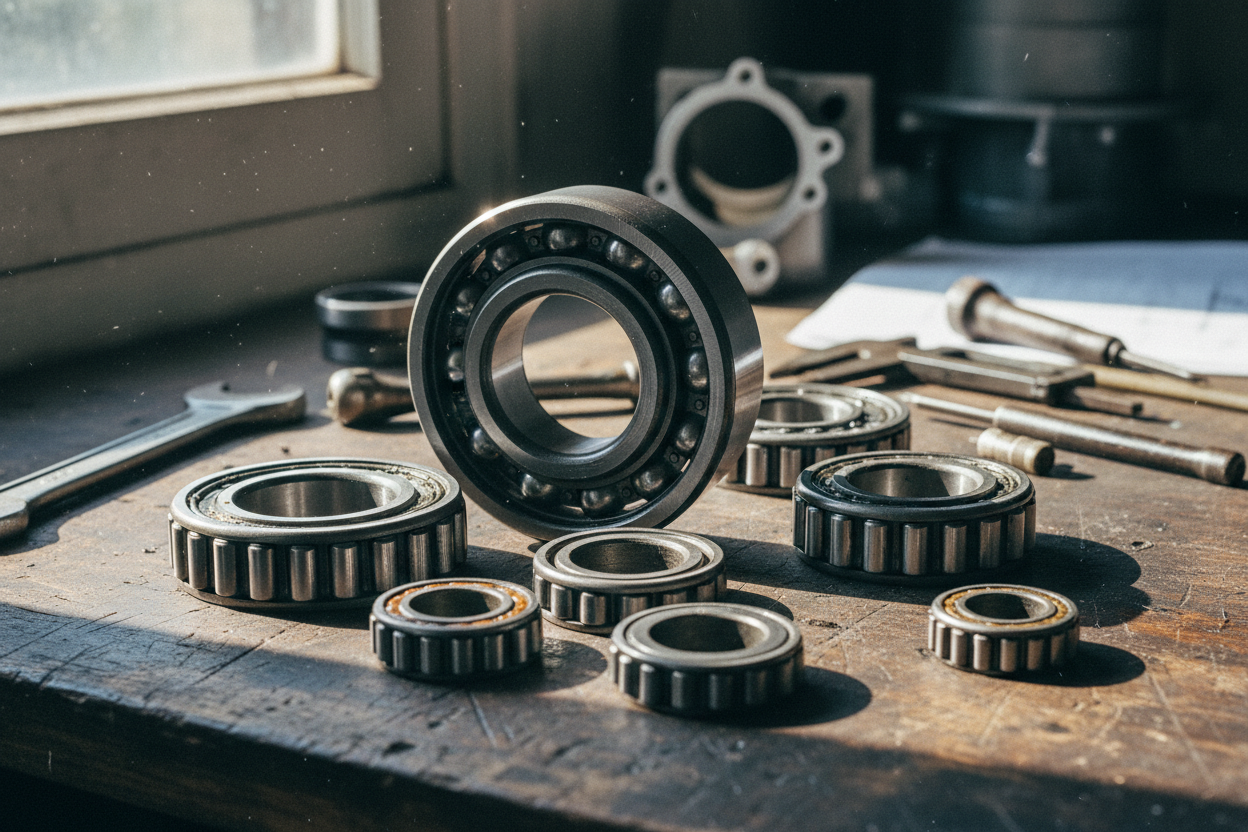
Common Mechanical Causes
Most persistent motor noise stems from bearings, misalignment, or looseness. Worn or contaminated bearings produce rumbling or tonal growls that change with speed. Lack of lubrication introduces squeals, while overloading or imbalance can generate cyclical thumps. Check couplings for wear, cracked inserts, or backlash; a failing coupling can mimic bearing noise. Examine the fan: bent blades, clogged shrouds, or rubbing guards add whine or scrape. Belt drives may chirp or squeal when tension is off or pulleys are misaligned. Perform a careful fastener audit, verifying that feet, guards, and terminal boxes are snug; even a small loose component can resonate like a drum. With power isolated, spin the shaft by hand to feel roughness, endplay, or tight spots. Quick fixes include securing mounts, re-tensioning belts, replacing damaged fans, and correcting imbalance with cleaning or balancing weights. If noise persists after these checks, suspect internal wear and plan for bearing inspection or replacement to avoid secondary damage.
Electrical Sources of Noise
Electrical issues can create distinct sounds unrelated to pure mechanics. A steady hum may reflect magnetic flux pulsations in the stator, while a sharper buzz can hint at loose laminations or vibrating windings. On drives, PWM switching can introduce a high-pitched whine that varies with carrier frequency and load. Phase imbalance, undersized conductors, or poor terminations may cause arcing, sizzling, or intermittent buzzing, often accompanied by localized heat. DC motors add brush chatter, commutator ripple, or sparking when brushes are worn or springs lose force. Quick checks include inspecting and re-torquing terminals, verifying grounding integrity, and examining cable routing for shielding and separation from sensitive circuits. Adjusting drive parameters, such as carrier frequency or acceleration profiles, can shift or reduce audible components without sacrificing performance. Address loose cores, tighten end windings if accessible, and replace degraded brushes. By treating the stator, rotor, and control system as one ecosystem, you can isolate electrical noise efficiently and prevent small defects from escalating into insulation breakdown or control instability.
Maintenance and Lubrication Fixes
Thoughtful preventive maintenance is often the fastest path to a quieter motor. Lubrication errors are frequent culprits: too little grease produces dry, metallic squeals; too much packs cavities, causing churning, heat, and droning. Use the correct lubricant type and quantity for the bearing design, and clean fittings before applying to avoid contamination. Inspect seals and shields; damaged barriers invite dust and moisture that accelerate wear and amplify noise. Clean cooling passages and fan housings to eliminate airflow hiss and whir. After lubrication, allow the motor to run and recheck noise as excess grease purges and settles. A mechanic's stethoscope, or even a screwdriver used carefully as a listening rod, helps localize sources at housings, end bells, and accessory mounts. Document findings with dates, sounds, and corrective actions to build a maintenance history. Over time, consistent relubrication, cleanliness, and proper storage of spares reduce friction, stabilize temperature, and keep acoustic signatures predictable and quiet.
Alignment, Mounting, and Isolation
Even perfect internals can be noisy if the installation is flawed. Check for soft foot, where one motor foot lacks solid contact, twisting the frame and amplifying vibration. Correct with precise shimming and verify flat, clean contact surfaces. Assess shaft alignment; angular or parallel misalignment transfers cyclic forces into bearings and couplings, creating tonal noise. Use dial indicators, lasers, or careful straightedge methods to bring the system within acceptable tolerances. Examine the baseplate and foundation for cracks, loose grout, or insufficient mass that lowers resonance thresholds. Improve mounting with isolation pads, resilient mounts, or an inertia base to decouple structure-borne noise. Secure conduit and cable trays; rattling accessories often masquerade as internal motor faults. A quick diagnostic trick is to slightly vary speed or load; if the noise peaks at a specific point, resonance is likely. Combining proper shimming, alignment, and isolation often delivers immediate, durable reductions in noise without touching the motor internals.
When to Seek Help and Long-Term Prevention
Some symptoms merit professional support: persistent metal particles in grease, rapid temperature rise, repeated tripping, or noise that worsens after basic adjustments. If in doubt, schedule vibration analysis, condition monitoring, or thermal imaging to reveal hidden faults. While quick fixes are valuable, long-term quiet operation comes from baseline measurements, trending, and disciplined documentation. Establish a routine for alignment checks, bearing inspection, and drive parameter reviews. Balance rotating components after repairs, and keep replacement parts matched and traceable. Manage the environment by controlling dust, moisture, and airflow obstructions that exacerbate noise and heat. Train operators to recognize abnormal sounds early and to report them with context such as load, speed, and recent changes. Adopt predictive maintenance tools when feasible to catch wear before it sings. By pairing timely professional input with robust root cause analysis, you convert noisy surprises into planned interventions, extending motor life and preserving a safer, quieter workspace.